|
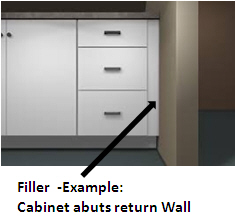
Fillers
Fillers (supplied by OzFlatPacks) are made up of several parts for easy installation, however the number of parts is dependent on what cabinet they are attached to.
Base (Floor) Cabinets:
-
Made up of two parts: The front Filler piece itself and a side Infill return piece. The side Infill return piece attaches the Filler to the side of a cabinet.
Tall Cabinets:
- May also have a top return piece. This just fills the gap at the top of the cabinet between the cabinet and the wall. This is usually only required if the cabinet is very high.
Upper (Wall) Cabinets:
- Have a bottom return piece. This just fills the gap at the bottom of the cabinet between the cabinet and the wall.
- May also have a top return piece. This just fills the gap at the top of the cabinet between the cabinet and the wall. This is usually only required if the cabinet is very high.
Assembly:
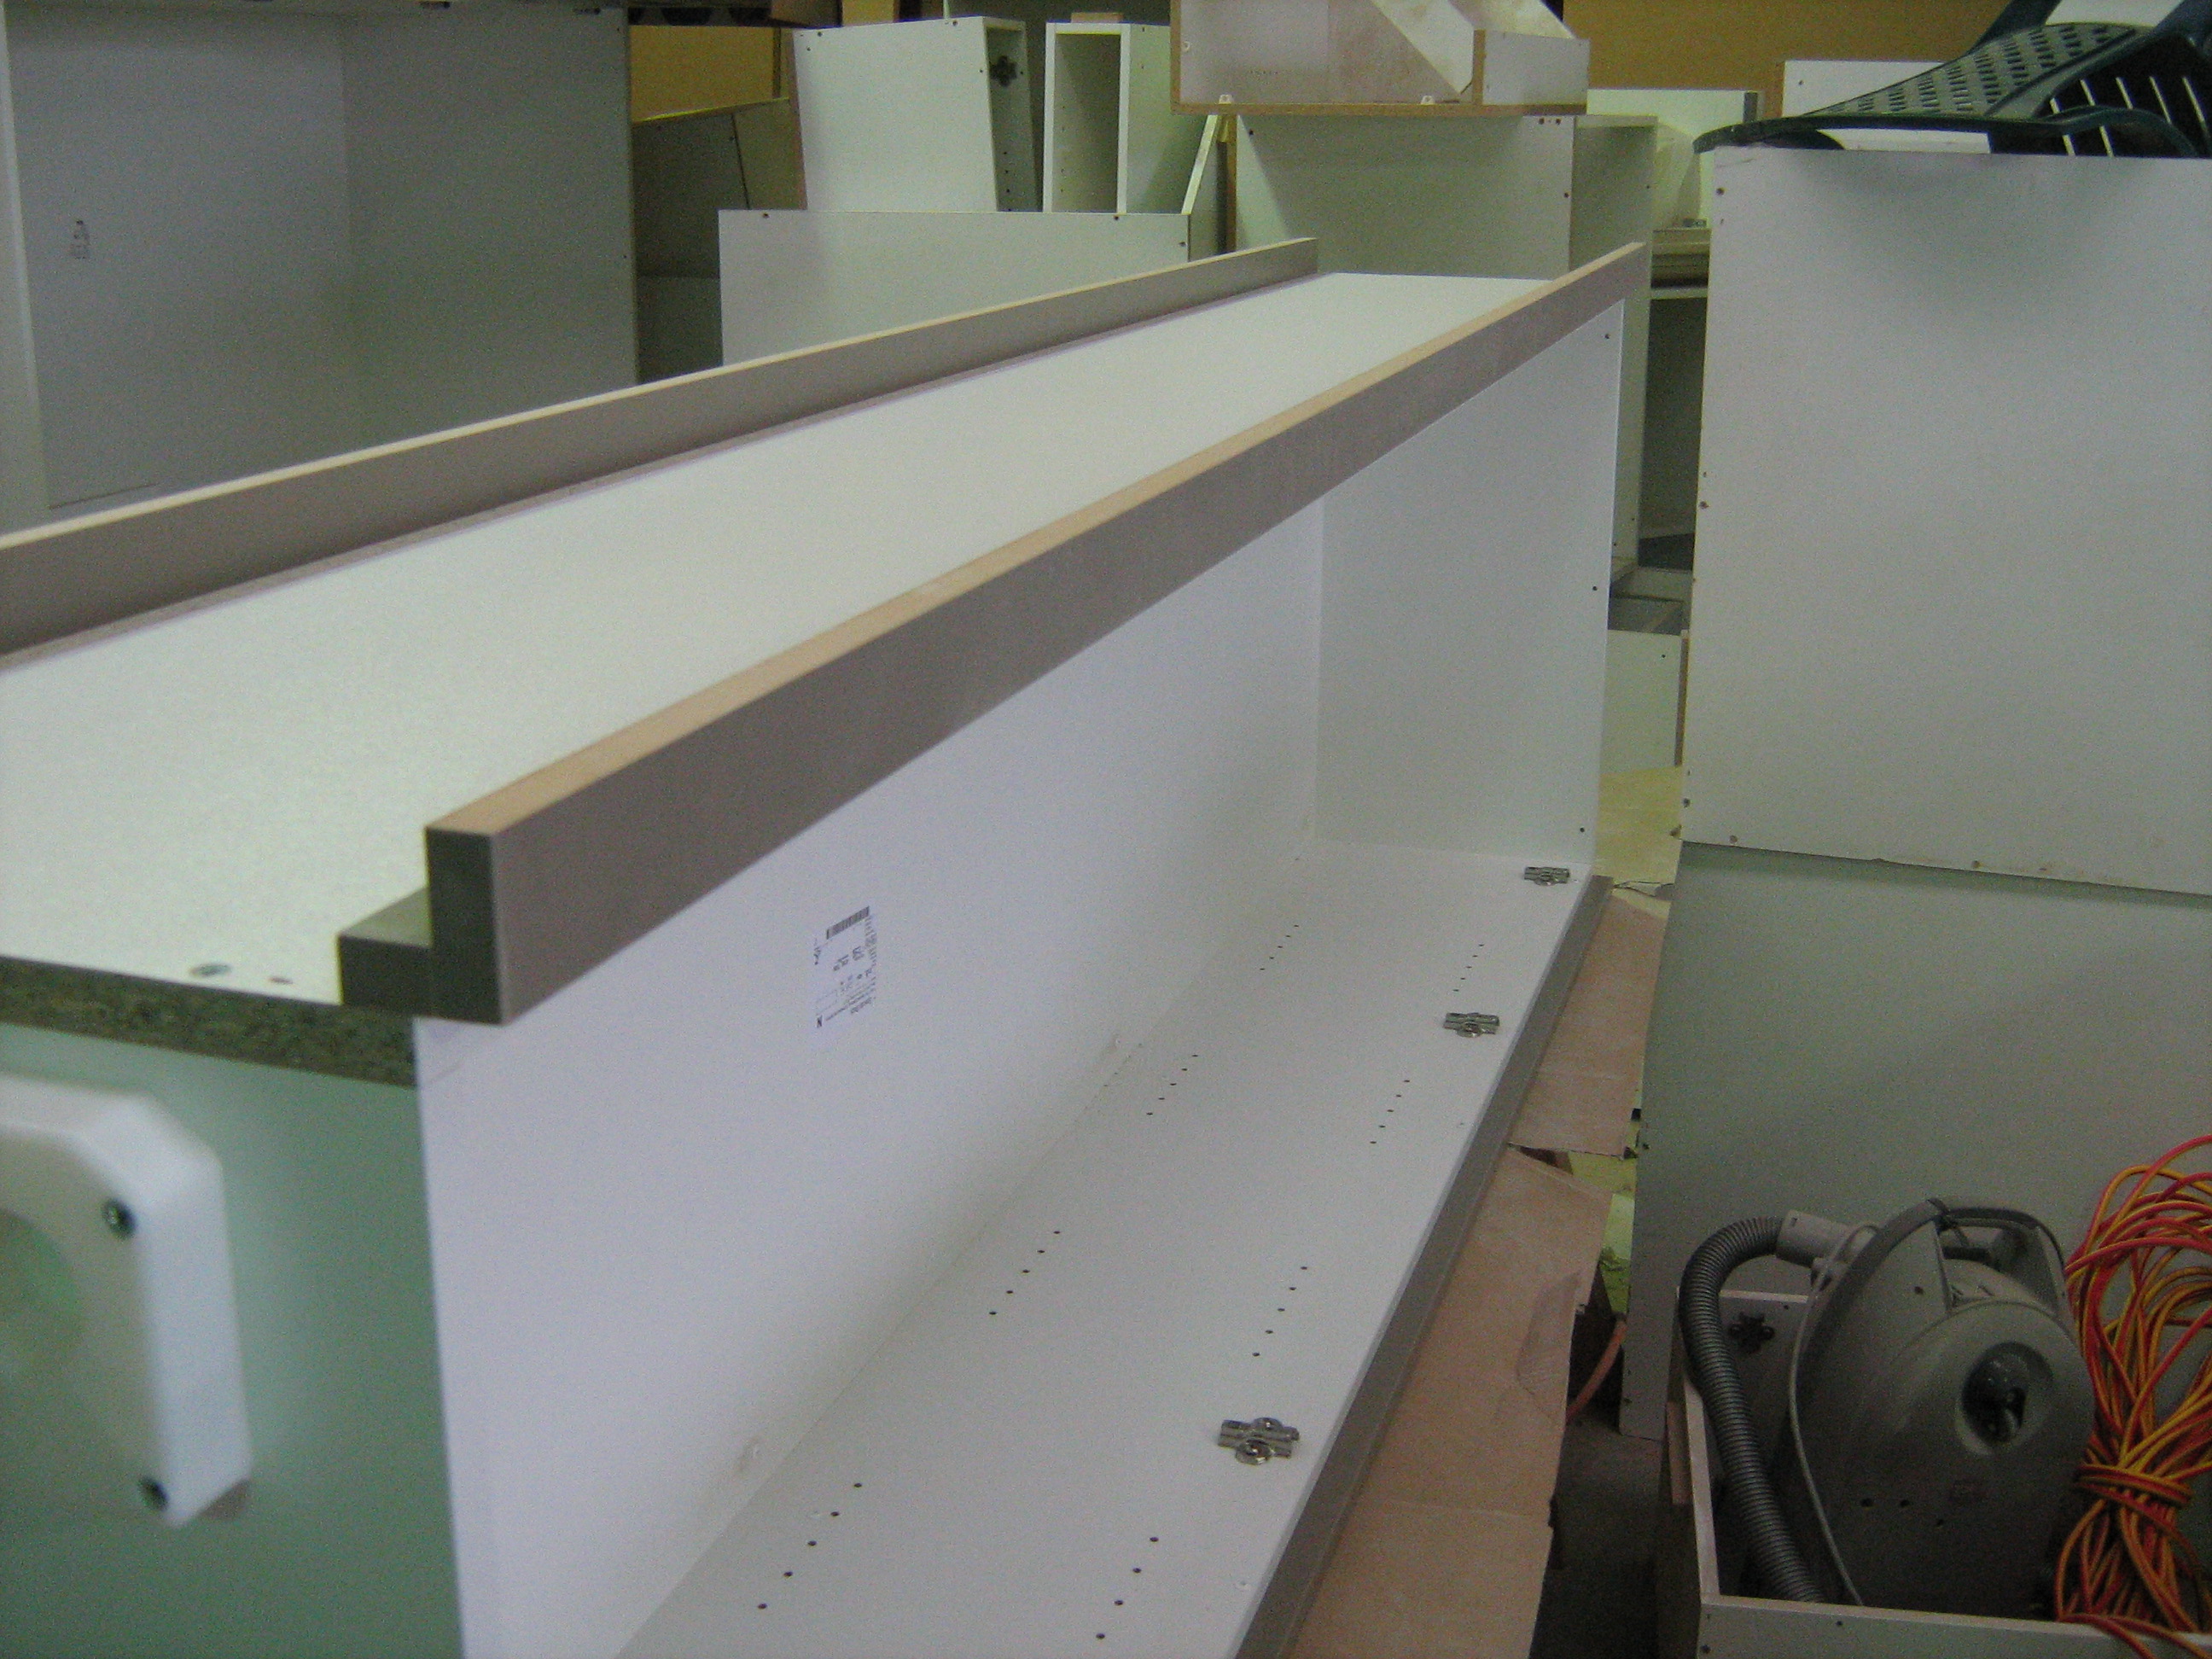
1. A filler comprises of the filler itself plus a side infill piece. The side infill piece is attached to the filler (via the cam fittings supplied). The image below is for a standard upper cabinet, which also has a return piece for the underside of the cabinet. A base cabinet is easier as it doesn't need a bottom return section. The thin bits are the actual Fillers, the wider part attaches the Fillers together.

2. Join with cam fittings (supplied).


3. Assembled Filler section. The Image below is for a right end Filler on an upper cabinet. The right side attaches to the cabinet, and the left side goes up against the wall.

The Image below is the same Filler, but just taken from the other side of the Filler (from the wall side, showing the cam fittings).

4. The Side Infill piece is then attached to the cabinet with the screws (supplied). Screw through the inside of the cabinet to the side Infill piece to fix it to the cabinet. During the manufacture of fillers, often they need special attention due to their narrow widths, Click here for more information.
5. As a general guide, most people attach/install the Filler to the Cabinet as a 'dry run'.


6. The Filler is then removed, because it is often more difficult to install the cabinet to the wall with the Filler pre-attached. After the cabinet is attached to the wall, then the gap (where the Filler goes) is re-measured (as walls are typically not perfectly square or the Filler has been ordered slightly over-sized to be scribed/planed for a neat fit on-site). The filler is then test-fitted so that it fits nicely, and then it is attached to the cabinet. It is common practice to then use a gap filler between the wall and the filler, to achieve a perfectly neat final result.
We hope that this information has been helpful for you.
If you need further help or more information on this topic please:
|
|