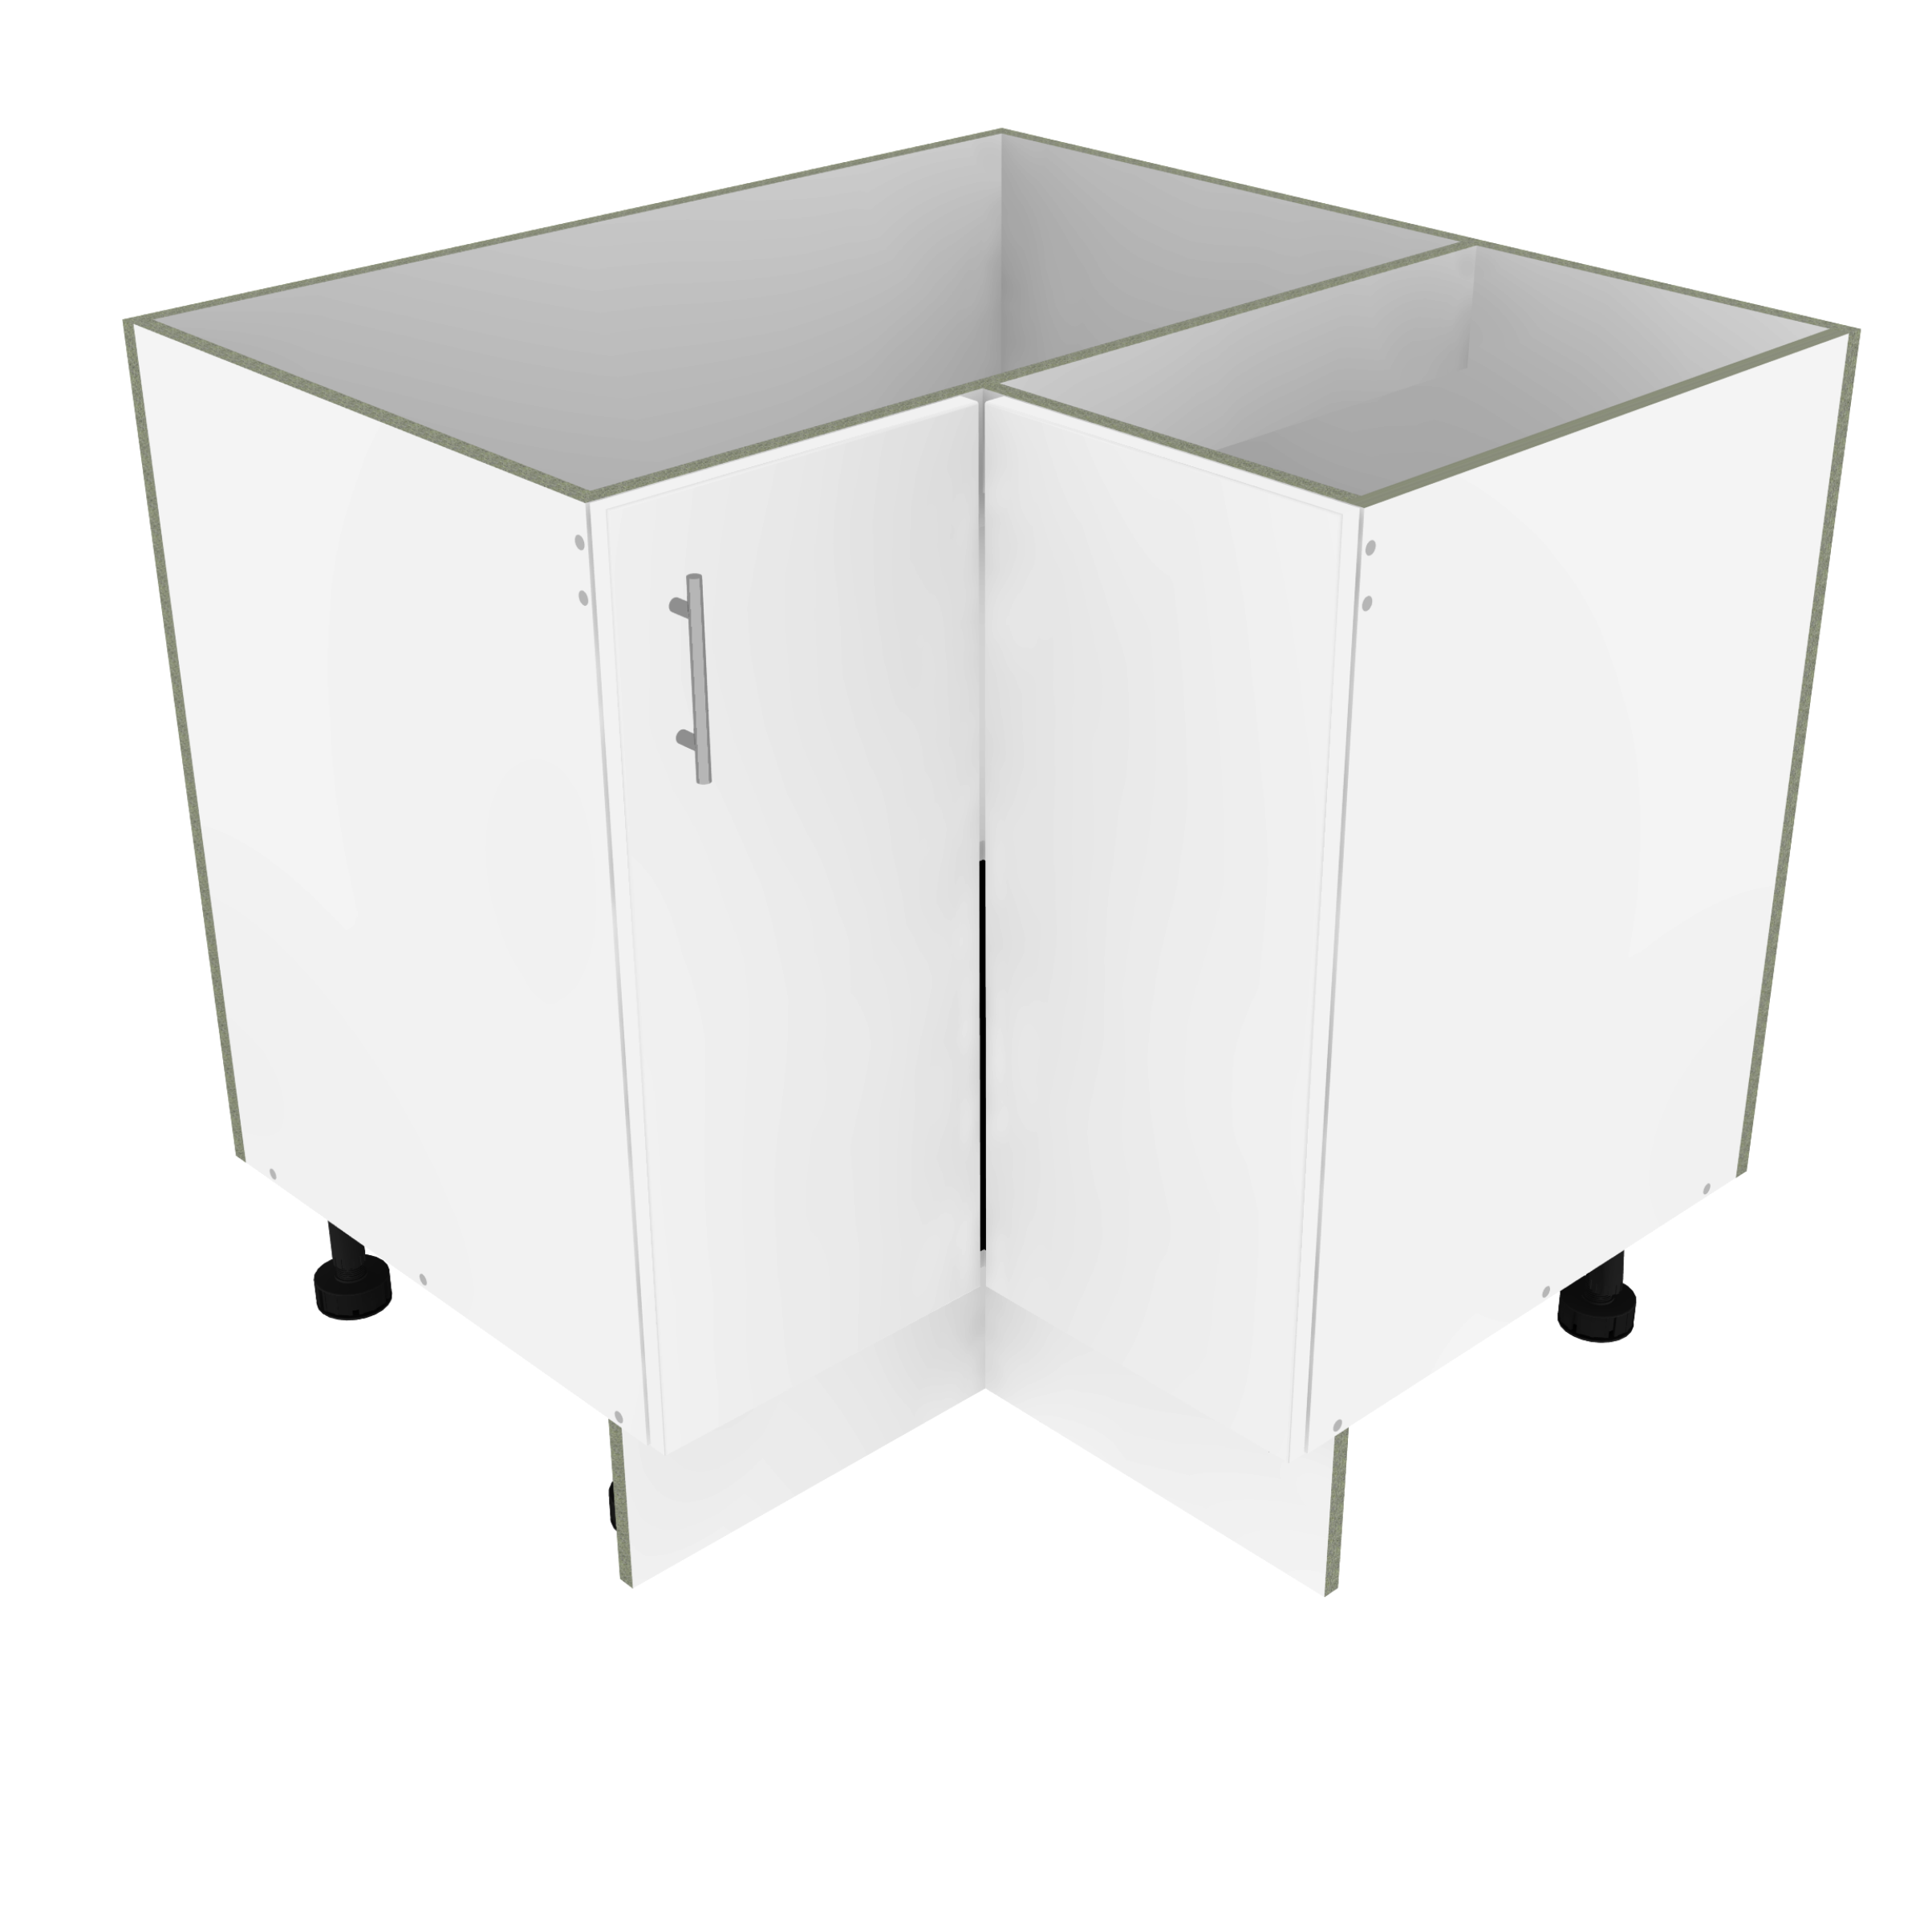
Base Corner Cabinets
A ‘Base Corner Cabinet’ comes complete with all screws and hardware required to assemble the cabinet.
Note: In your order you will find the paperwork on your job, and in there is a detailed Assembly Instruction sheet which explains ‘which screw attaches to what and how many’.
Before you get cracking on the assembly of your cabinetry, please have a look here, as this area contains specific information to help you speed up the process and reduce errors.
Assembly Process:
1. Attach the Leg Bases to the bottom of the Cabinet. Click the button below to show you how it’s done:
Leg Bases
2. Attach the Hinge Mounts to the Ends (Gables). Click the button below to show you how it’s done:
Hinge Mounts
3. Attach the Back Bench top Connector. Click the button below to show you how it’s done:
Back Bench Top Connector
4. Join the Bottom (base) to a Corner Cabinet end (also known as a ‘Gable’ in some areas of Australia). Use the correct screw as identified in the detailed Assembly Instruction sheet (normally a 50mm screw). The joints are all butt joined, as the screws act as a steel dowel to secure the pieces together.
Note: A machined location hole is drilled into the bottom front section of the end itself, and this is to identify the bottom of the end front.
TIP: Make sure that when fixing the end to the bottom, that this hole is at the bottom.

5. Join the Left Back to the Bottom and End. If you happen to have an extra pair of hands available, it is easier if the other person holds the parts in place whilst the other screws it.
Note: A machined location hole is drilled into the bottom section of the Left Back. This is to identify the bottom of the Left Back, so make sure that when fixing the End and Bottom, this is at the bottom. A common mistake is to put the back upside down, so if the back has adjustable shelf holes in it, then these will not line up correctly when the shelf is installed.

6. Now spin the cabinet over onto it’s Left Back, ready to fix the remaining Right Back.
Note: A machined location hole is drilled into the bottom section of the Left Back. This is to identify the bottom of the Left Back, so make sure that when fixing the End and Bottom, this is at the bottom. A common mistake is to put the back upside down, so if the back has adjustable shelf holes in it, then these will not line up correctly when the shelf is installed.

7. Now spin the cabinet over onto it’s Right Back, ready to fix the remaining Right End

8. Lay out the rails (stretchers) on the rear of the back, and check which way they go into the cabinet (normally left long and right short).
9. Join the Long Rail to the cabinet with the screws provided, then join the shorter Rail to the longer Rail with the 2x Cam Fittings provided.
TIP: A good idea is to pre-drill the rails using a 3mm drill bit (no thicker than this), to prevent the rail from ‘splitting’, especially if the rail is only a short one.
Then countersink a screw head hole into the Cabinet’s End Panel (so that the screw head will finish flush with the Cabinet End Panel when screwed up). There are several ways to do this, but the easiest way is to use an 8mm drill bit (as this is the diameter of the screw head), and drill into the Cabinet End Panel 1 to 2mm max. This is to avoid having the screw head not correctly countersinking into the Cabinet’s End Panel, especially if the Rail is not very long:
10. If you have selected any Applied Ends or Fillers to go with this cabinet, here is how to do these:
11. Attach Door to cabinet, here is how to do these:


